Get the Avero Companion App
The Avero Companion is the staff app for the floor — check in guests, run reservations and the floor plan, take orders and payment tableside, and enroll wine-club members. It talks to the same Avero backend as the web admin, so everything stays in sync.
What it runs on
| Device | Notes |
|---|---|
| Stripe smart readers (S700 / S710) | The Companion runs on the reader itself, through Stripe's Apps on Devices program — the reader is both the screen staff work on and the card reader. |
| Android phones and tablets | Android 8.0 or newer. Phones with NFC (e.g. Galaxy A23/A24) can take card payments directly with Tap to Pay — this needs a Play-signed install, not a sideloaded build. |
| External card readers | A phone or tablet can pair a Stripe Reader M2 (Bluetooth) or drive a networked BBPOS WisePOS E. |
The camera is used to scan pairing QR codes, guest IDs, and ticket QR codes, so grant camera access when asked. Bluetooth and location permissions are needed for card-reader discovery.
The Companion is not in the public Play Store yet — Avero provisions it onto your devices.
- Android phones and tablets install it through Google Play's internal-track distribution: Avero invites the device's Google account, and the app then installs and updates through Play like any other app.
- Stripe smart readers get the app from Stripe rather than from Play. The Companion has to clear Stripe's Apps on Devices review first; once it has, Avero deploys it from the Stripe Dashboard onto the readers registered to your Stripe account. Readers do not arrive with the Companion already installed.
Ask your Avero onboarding contact to get a device set up.
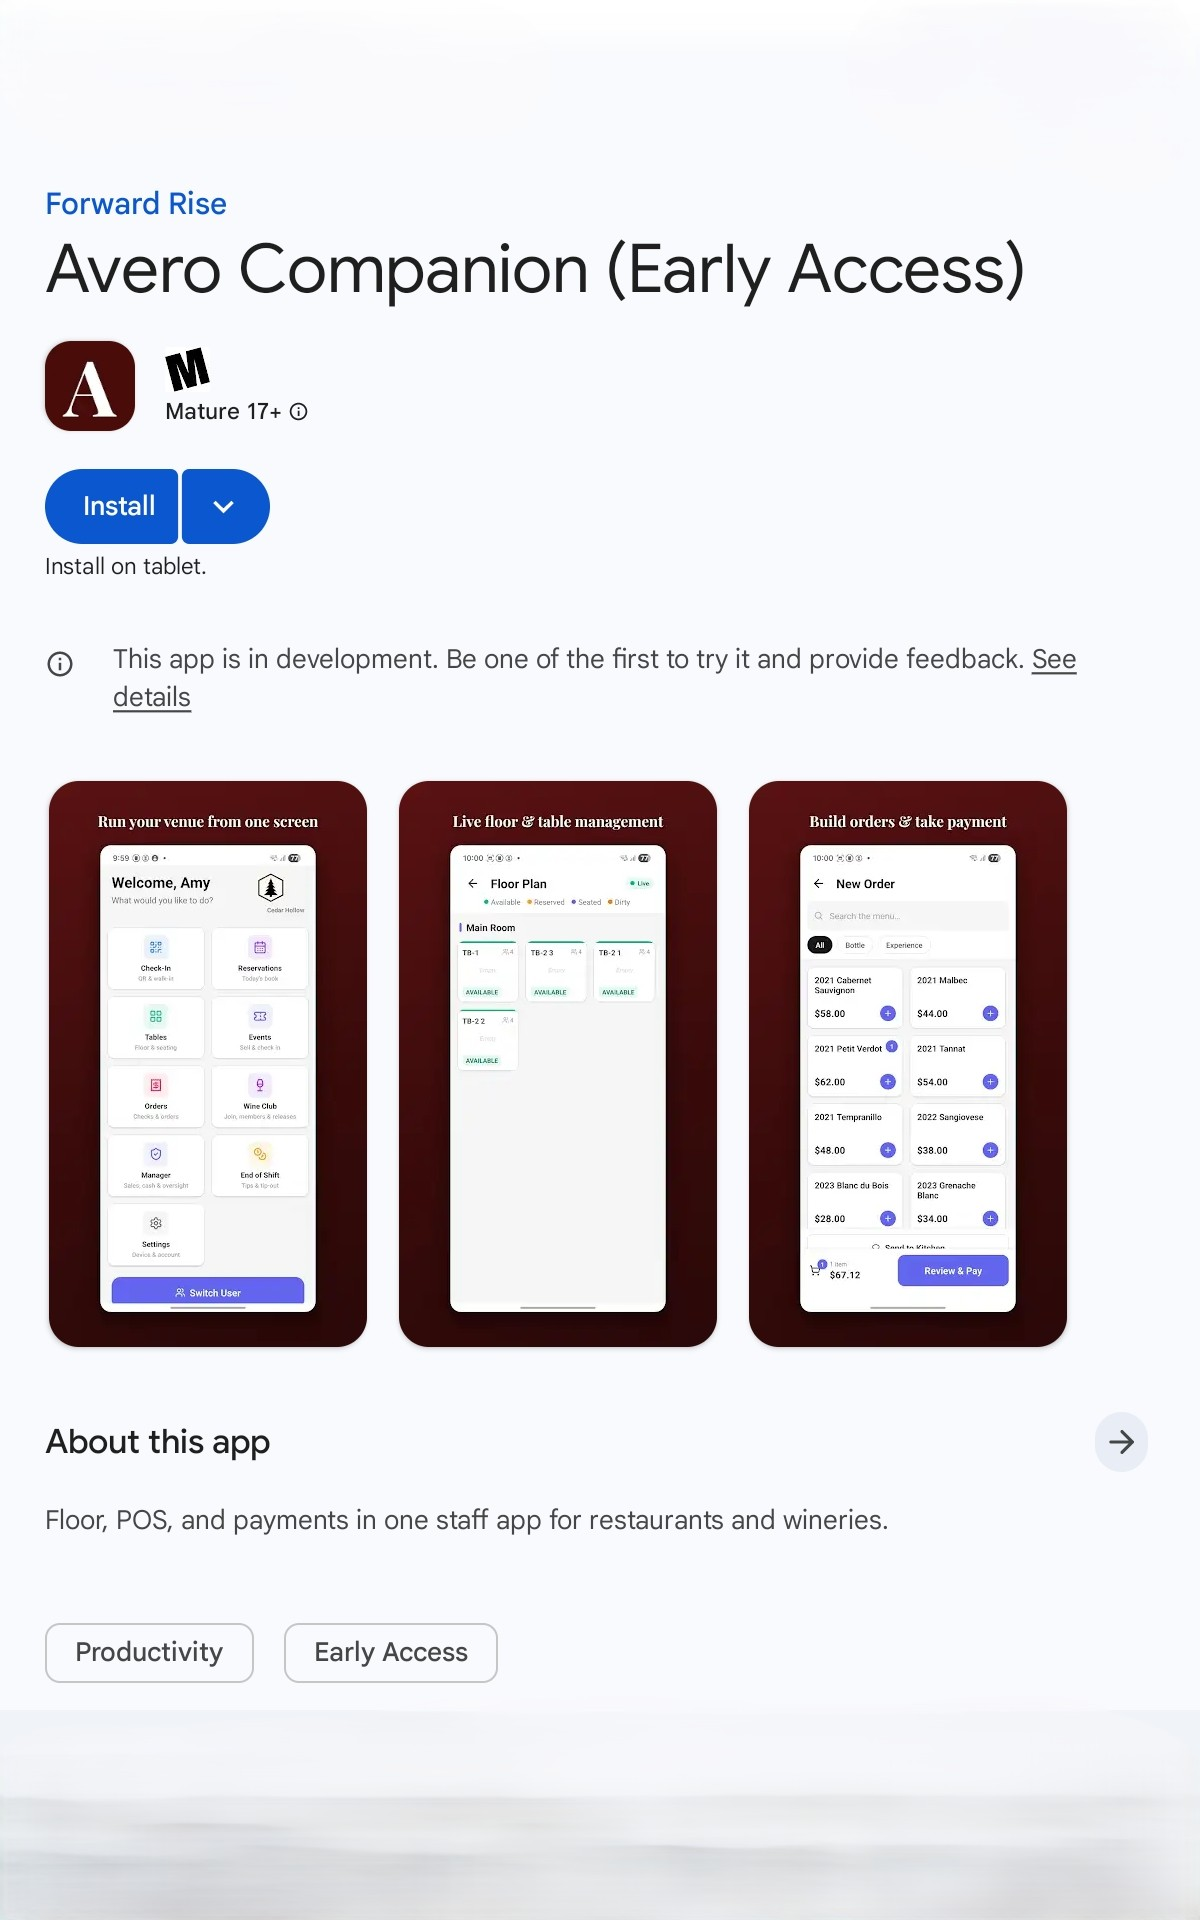
What the invited install looks like — the Avero Companion (Early Access) listing in Google Play, with the "app is in development" early-access notice.
How the device takes card payments
How the Companion reaches a card reader — its connection method — depends on the hardware it's running on:
| Device | Connection method | What that means |
|---|---|---|
| Stripe smart reader (S700 / S710) | On-device reader | The app takes payment on the card reader built into the same unit. Nothing to discover or connect. |
| Android phone with NFC | Tap to Pay | The phone's own NFC antenna reads the card. It auto-connects in the background after sign-in. |
| Android phone or tablet + a reader | Bluetooth or network | The device drives a separate Stripe Reader M2 (Bluetooth) or BBPOS WisePOS E (network). |
The app detects smart-reader hardware and selects On-device reader itself — staff don't pick it, and there's nothing to set up on the reader beyond registering it. If you ever need a device to use a different reader, the choice can be overridden in Settings → Reader.
Any separate physical Stripe reader — including an S700/S710 — must be registered to your Stripe account before it can take a payment. See Register a card reader.
How updates arrive
- Android (Play) installs update in two ways. App-content updates ship over the air: the device downloads them in the background and shows a banner — "A new version is ready — Restart" — so staff apply the update at a safe moment (the app never reloads itself mid check-in or payment). Full new versions arrive as ordinary Play updates.
- Stripe smart readers (S700/S710) run a separate reader build that does not receive the over-the-air updates phones get — Avero deploys new reader versions from the Stripe Dashboard to the readers registered to your Stripe account. Nothing to do on-site; readers pick up new versions on their own.
Before you pair
- A location already set up in Avero — see Set up your tasting room.
- Staff assigned to that location, each with a PIN — see Invite your team.
- An admin who can reach Settings → Companion Devices in the Avero web admin (from the header menu).
- For a Stripe smart reader: the reader already registered to your Stripe account and assigned to a Stripe Terminal Location — see Register a card reader. That's a separate step, with a different code, and it comes before pairing.
Pair your device
A new device must be paired to your company once. The Companion's Pair Device screen walks you through it — "Scan a QR code or enter your company ID and pairing code to connect":
- On a computer, open the Avero web admin and go to header menu → Settings → Companion Devices. On the Avero Companion Devices card, click Generate Pairing Code. The dialog shows a QR code, the raw 8-digit pairing code, and your Company ID (a UUID) — you need the Company ID only if you're typing the code in by hand instead of scanning.
- On the device, give it a name under Device Name (optional) (e.g. "Front Counter Terminal") so you can recognize it later in the device list.
- Scan QR (the default): point the camera at the QR on the computer screen. Pairing starts automatically.
- Or tap Enter Manually and type the Company ID and the Pairing Code, then tap Pair Device.
The 8-digit code is the only one this screen accepts. It is not the three-word code (like puppies-plug-could) that a Stripe reader shows on its own screen — that one registers the reader with Stripe and is entered on the web. The two are compared side by side in Register a card reader.
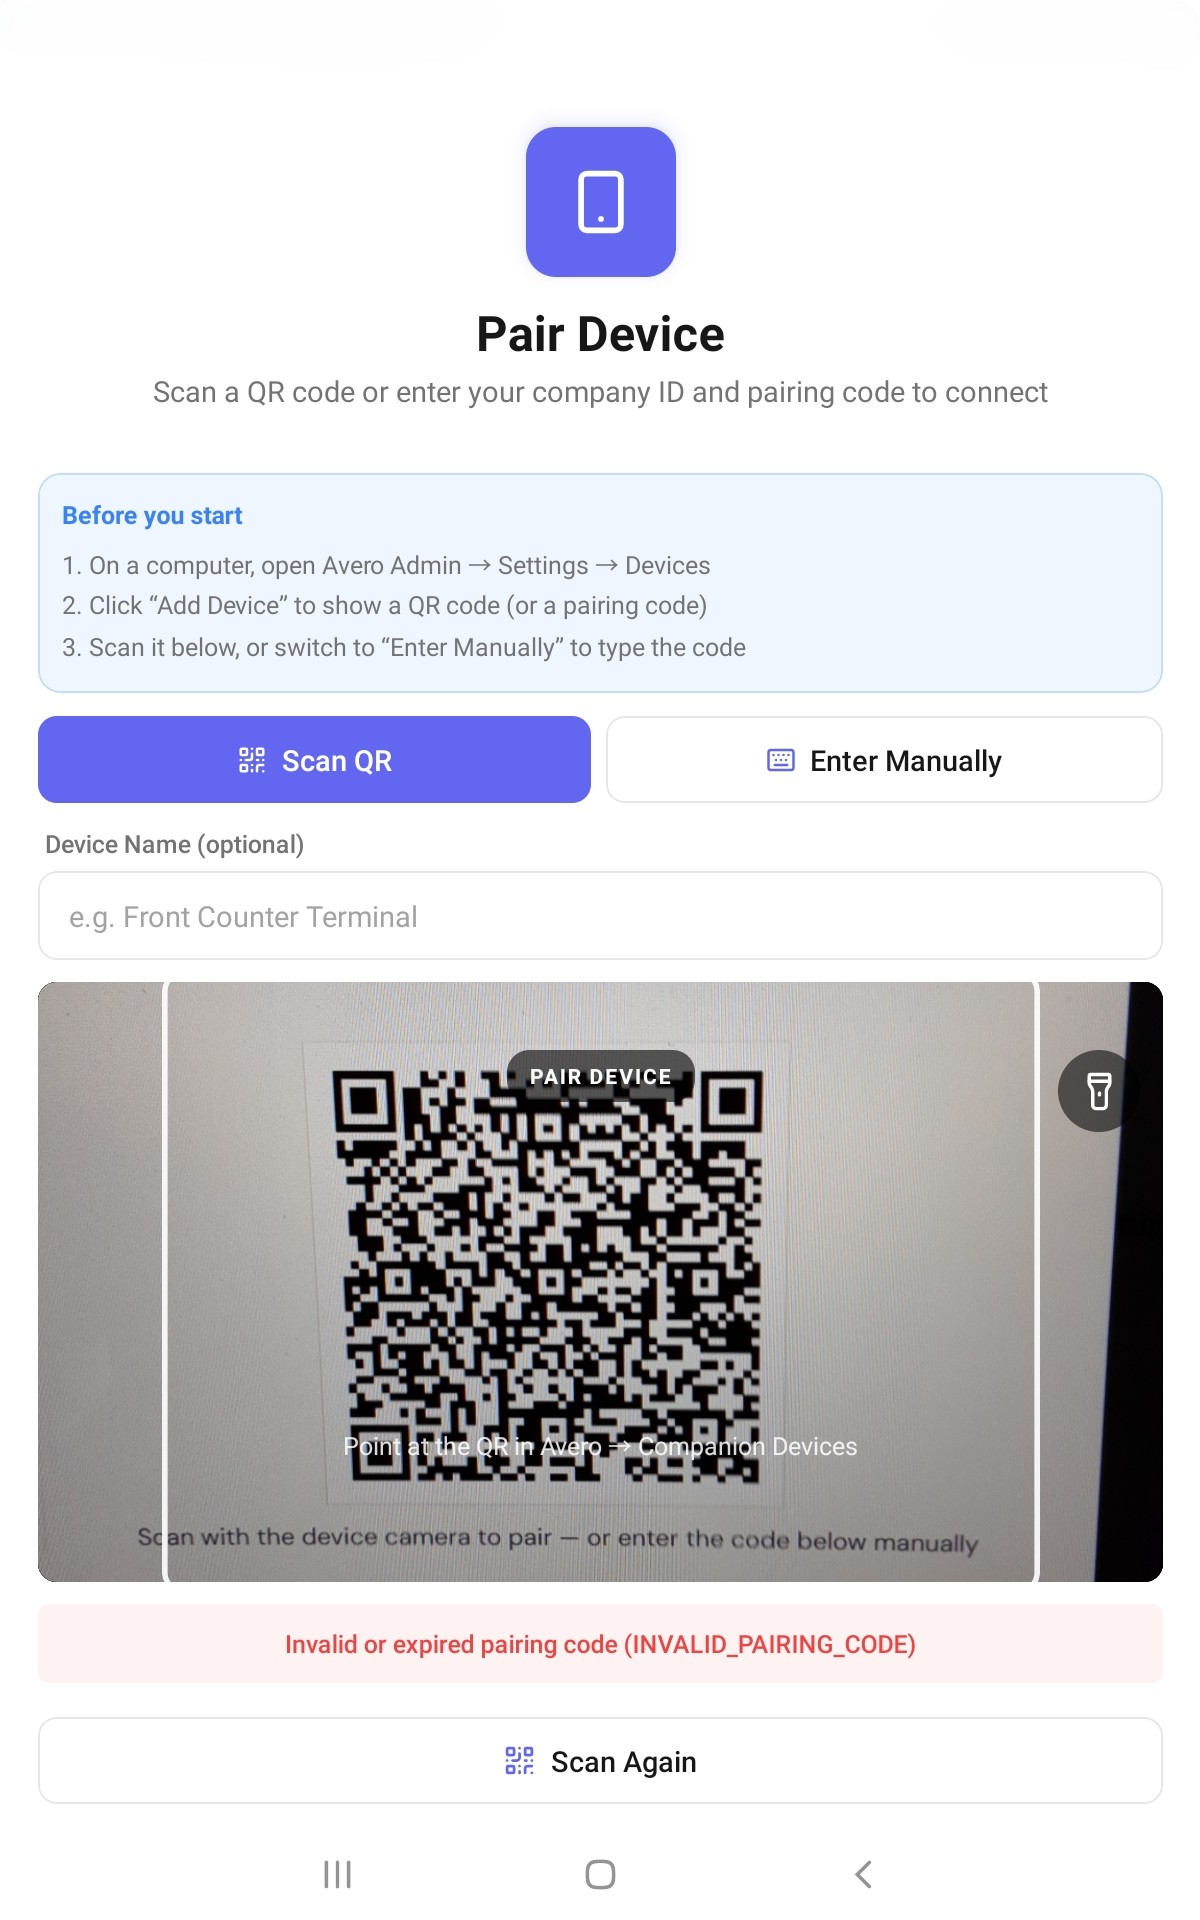
Pairing codes are 8 digits, single-use, and expire after about 10 minutes. If you see "Invalid or expired pairing code", generate a fresh one and try again. An admin can also mint a pairing code from an already-paired device — see Enroll a new device. Codes minted there are already scoped to a location, so the new device skips the Select Location step below.
After pairing
- Select Location — choose the venue this device will operate at. (A device paired with a code minted from another device skips this: the code already carries the location.)
- The This Location screen confirms it. Tap Use This Location to continue (or Switch Location / Pair a New Device).
- You land on the Who's working? staff screen — from here on, staff sign in with their PIN. See Getting started.
What you can do
- Check in arriving guests — search the CRM, scan ticket QRs, verify IDs.
- Run the floor plan: seat parties, track table states, clear and check out tables.
- View and manage reservations, the waitlist, and deposits.
- Take orders, fire them to the kitchen, and take payment — terminal, cash, card on file, or gift card.
- Enroll wine-club members and work club releases.
Related
- Register a card reader — the Stripe-side step, and the two codes compared.
- Getting started — first run on a paired device: staff picker, PINs, and locations.
- Admin tile — the device list, revoking a device, and enrolling one from the floor.